
Straightening the ribs with fluting pliers and spot facing the hinge bolt lands on the hinges (to create a flat surface for the heads to seat on) were a couple of the highlights of this assembly.
After completion of the rudder we were advised by MAM that a "fix" kit was being issued to reinforce the vertical spar where the hinge/rudder horn is mounted due to signs of weakness observed in their demo aircraft. Installation of the kit was straight forward other than it required removal of a number of rivets to install reinforcement brackets.
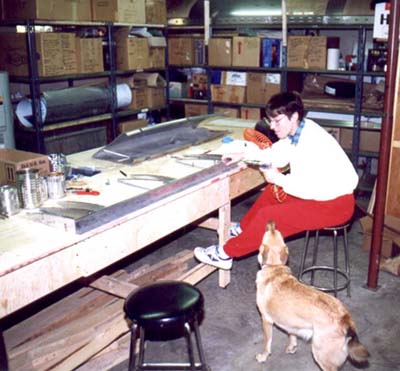
A pair of modified Vise Grips is used to flute the rudder ribs to return them to flat
(after the factory forming process).
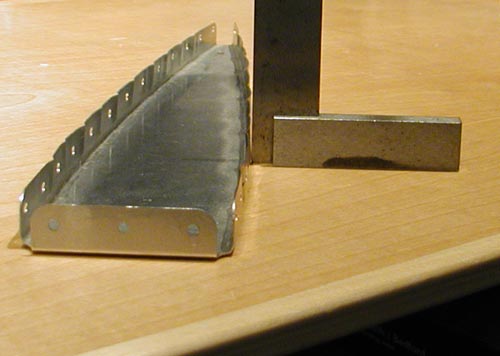
After the ribs are fluted the flanges must be made square to the web so they do not pull
waves in the skin when they are riveted.
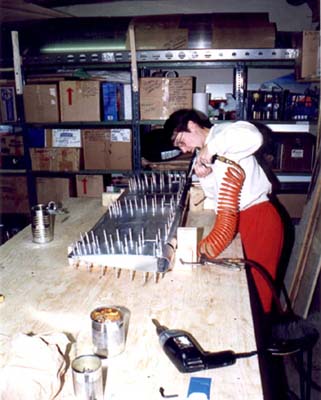
Rudder mounted in the assembly fixture with rivet holes being drilled to final size prior
to assembly.
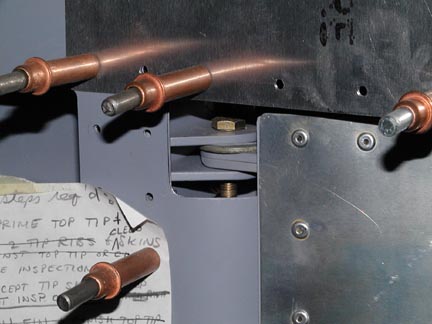
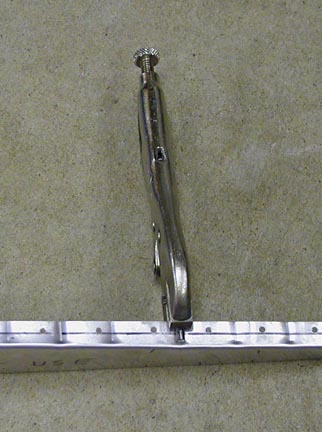
While MAM does not suppliy one, a large diameter nylon washer placed between the rudder
hinge halves is a good idea to avoid galling of the aluminum. Part number 654-010 from
Spaenaur is a good choice at .257" ID x .875" OD x .062" thick. In this photo a steel
washer is substituted until the Nylon washer is obtained.
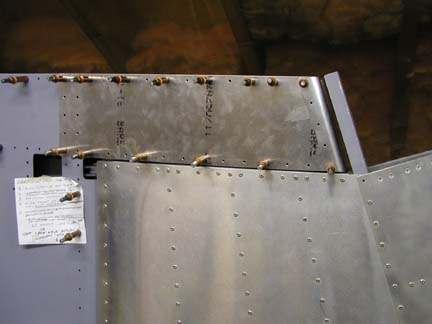
This photo shows the gap between the top of the fin and the rudder spade. The spade should
be fitted with the rudder mounted on the fin and a .100" spacer between the fin and the
spade rib to ensure the spade rib is parallel to the top of the fin. If you are using a
thrust washer as in the photo above, install it before completing the spade.
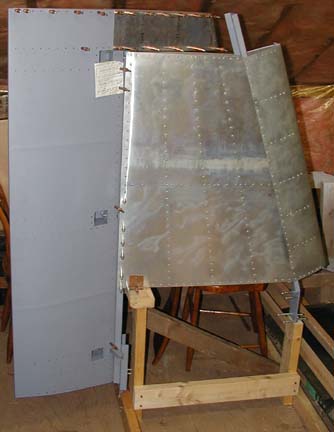
Rudder & Fin mounted on a storage fixture and ready for pre-closing inspection.